


Disclaimer: This material is being kept online for historical purposes. Though accurate at the time of publication, it is no longer being updated. The page may contain broken links or outdated information, and parts may not function in current web browsers.
When is a shirt more than a shirt? When it is also a bag.
When is a bag more than a bag? When it is also a game!
Turn an old t-shirt into a handy, reusable bag for a trip the farmers’ market, or, even better, a trip to the beach or the pool. Print the Climate Kids banner on the front and the Leaps and Flutters game on the back. Then, just bring along a die (one "dice") and find a couple of rocks or shells to use as game pieces.
Caution:
For the iron-on transfer part of this activity, please ask a grown-up to help.
You will need:
- A plain t-shirt, preferably white or a light color
- Iron-on printer transfer paper (available in craft stores), 2 sheets
- Transfer art for front and back graphics (click on links to the right==>)
- Color printer
- Iron
- Scissors
- Large safety pin
How to do transfers:
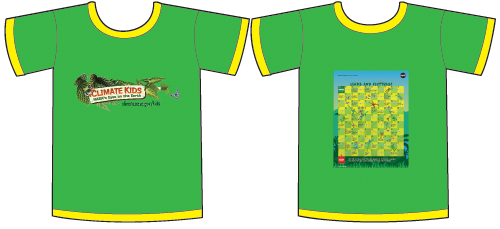
Print the images for the front and back of the shirt onto the transfer paper, according to the instructions on the package.
Iron the transfer images onto the front and back of the shirt, according to the instructions on the package of transfer paper.
How to make bag:
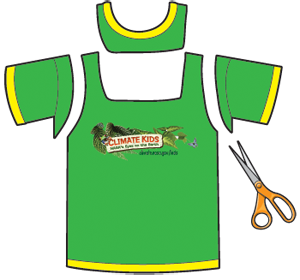
Lay the shirt flat on a table, and cut the sleeves off the shirt. Make the cut extend a couple of inches below the bottom of the sleeve to make the handle "holes" large enough to put over your shoulder.
Cut out the neck of the shirt. You can make the cut round-ish, square-ish, or V-shaped. Just make it big enough to put stuff in, but not so big it will all fall out.

Cut three strips of cloth from the sleeves. Make them about ½ inch wide. Cutting all the way around the sleeve will give you about the right length.
Stretch the strips a bit to make them curl in.
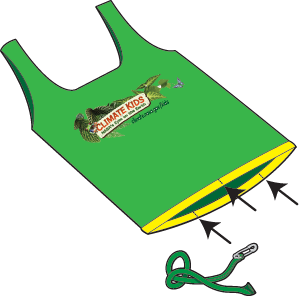
On the bottom hem of the shirt, cut three small slits (just big enough to slip in the safety pin), dividing the width into thirds (more or less).
Stick the safety pin through the end of one of the strips you made, and close the pin.
Insert the pin, with strip, into one of the slits in the hem. Feeling for the pin, work the strip through the hem until you reach the next slit, then pull it out.
Remove the safety pin, and put it through the end of another strip. Repeat the process, pulling this strip through the next section of the hem.
Finally, pull a third strip through the remaining section.
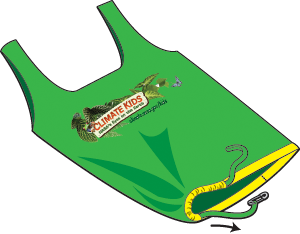
Now, pull each string tight and tie its two ends together in a knot you can pull out (like a bow knot).
Tie all the strings together, if you wish.

Ta-da! Your recycled, reused, repurposed and multi-purposed bag/game is complete!
When you have arrived at the beach or the park, take your stuff out of the bag, undo the ties to flatten the game board, and play "Leaps and Flutters."
![]()


