Celebrate the fall season and Halloween by making your very own NASA Climate Kids pumpkins with these easy-to-use stencils!
What you need:
- Pumpkin
- Black marker
- Black paint
- Small paintbrush
- A small cup to dip your brush in the paint (optional)
- Your choice of NASA Climate Kids Stencil (download the printable PDF by clicking on the icon below):
What to do:
- Print out the template page.
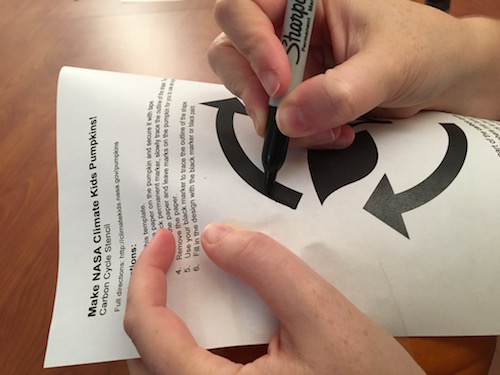
- Place the paper on the pumpkin and secure it with tape. You don't want it to move around while you trace the design. Since you're putting a flat piece of paper on a rounded surface, there will be some bunching, but don't worry about that too much.
- With a black permanent marker, very slowly trace the outline of the shape. The marker will bleed through the paper and leave marks on the pumpkin for you to use as a guide.
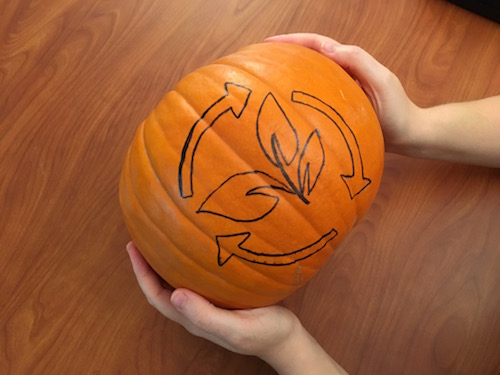
To be sure that it bleeds through enough, you can go back and forth over the same area a few times, or stop every few millimeters as you trace and let the marker bleed through some more. - Remove the paper. Look at your wonderful guide! Use your black marker to trace the outline of the shape.
- When you're done connecting the dots, you should have a completely outlined design.
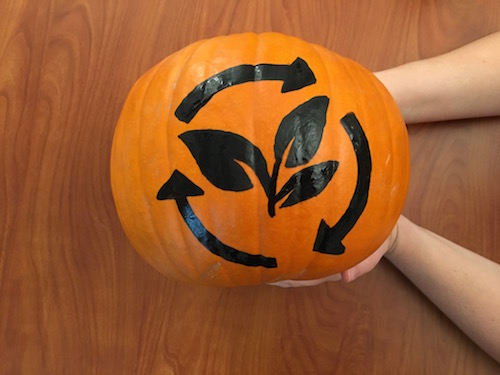
- Fill in the design with the black marker or black paint. It's best to fill in the edges and small spaces with the marker, but the marker does not work well covering large areas. For those, paint is much easier.
- Display your wonderful NASA Climate Kids pumpkin for all to see! Don't forget to tell everyone what the shape is and what you know about it.


Download the printable PDFs for this activity by clicking on the icons above step 1.


